Batch Sign PSBTs
Why Batch Sign PSBTs?#
There may be situations where you wish to create multiple PSBTs and sign them all with your COLDCARD® in a single session. The Mk4 and Q can streamline this process by signing, and possibly broadcasting, multiple PSBT files in batches.
How to Batch Sign PSBTs#
-
Start by putting all the PSBT files you would like to sign onto your MicroSD card, or the Virtual Disk of the COLDCARD. If using a MicroSD card, insert it into the COLDCARD.
-
From the Main Menu, select
Ready To Sign.a. Alternatively, if the PSBTs are on a MicroSD card, from the Main Menu you can go to:
Advanced/Tools > File Management > Batch Sign PSBT. -
The COLDCARD will list the unsigned PSBT files from the MicroSD card and give you the option:
[Sign All].
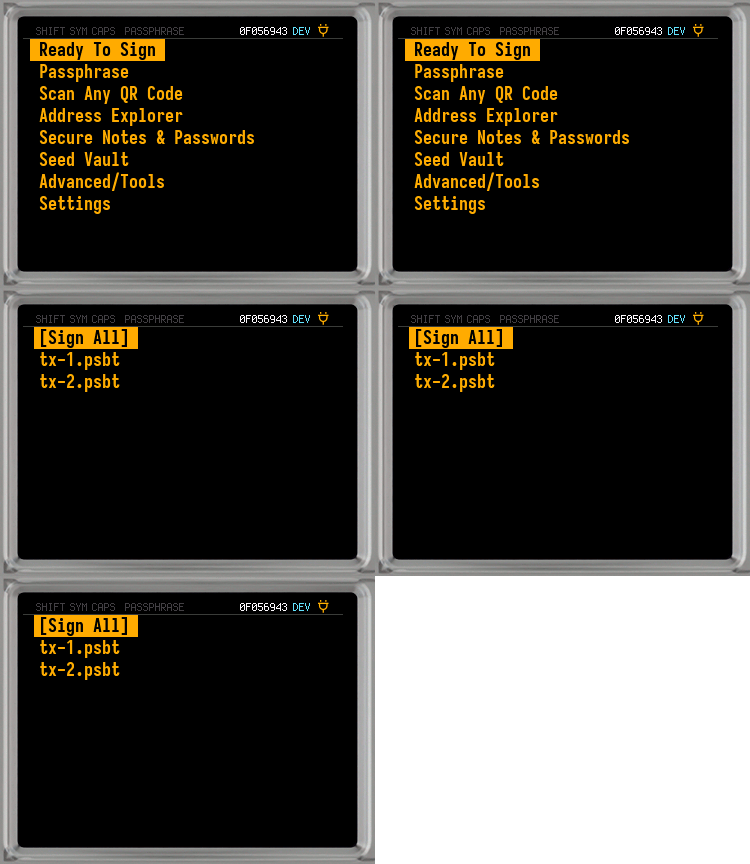
a. When there is no MicroSD card containing PSBTs in the COLDCARD, or if you are using the Virtual Disk, you will be presented with options of ways to import PSBTs.

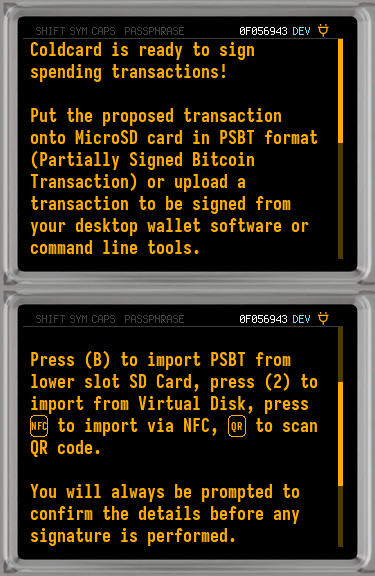
At this point you can insert a MicroSD card with PSBT files on it (in the lower slot on the Q), and press
1on the Mk4, orBon the Q.b. If you have your PSBTs on the Virtual Disk, you should press
2. -
Select
[Sign All]from the top of the menu to begin the process of signing, and possibly broadcasting, all of you PSBTs.
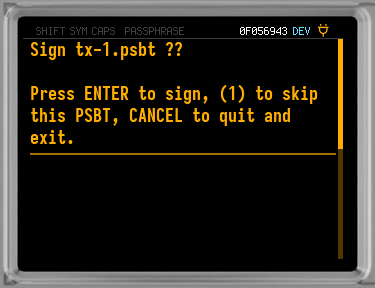
-
To review the details of the first PSBT, press
OK/ENTER.
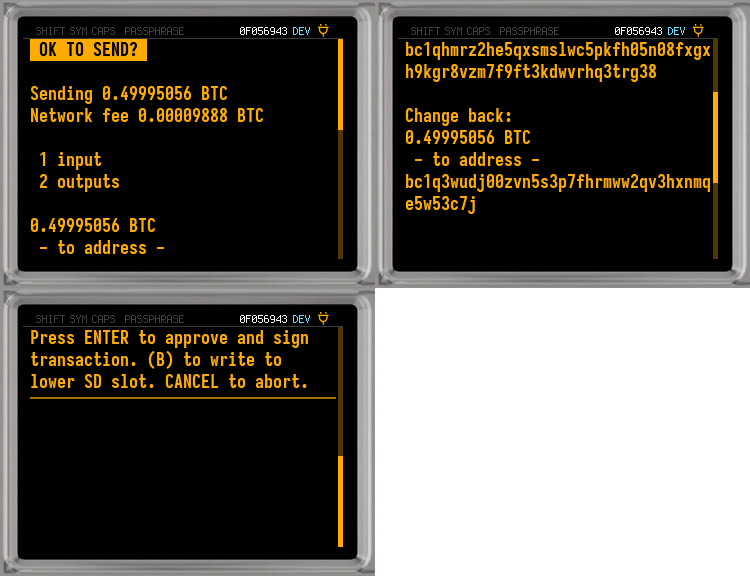
-
Once you have verified that the transaction is correct, press
OK/ENTER.A signed PSBT will be saved to the same place the unsigned PSBT was read from, either the MicroSD card or the Virtual Disk.
a. If you have NFC Push TX enabled, the COLDCARD will begin to broadcast the finalized PSBT over NFC. After you tap an NFC enabled phone to the COLDCARD and successfully broadcast your transaction, press
X/CANCELto move on.
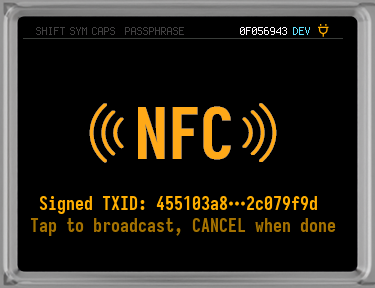
b. If NFC Push TX is disabled, the COLDCARD will save the finalized PSBT file to the same place the signed PSBT was saved to. Press
OK/ENTERto move on.
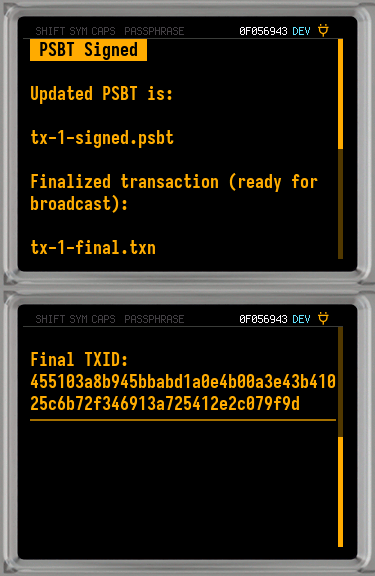
-
Repeat steps 5 and 6 until all of your PSBT files have been finalized.
-
If you have NFC Push Tx enabled, then all of your PSBTs should have been finalized and broadcasted. You are finished!
Broadcast Finalized Transactions#
When NFC Push Tx is not enabled, you will have to use the MicroSD card or the Virtual Disk to transfer the finalized transactions to an internet connected device. Once you have the files accessible on the device, you can use your Bitcoin wallet to broadcast the transactions.
These examples will use Sparrow Wallet.
-
Connect your MicroSD card, or the COLDCARDs Virtual Disk, to a computer with Sparrow installed.
-
Open Sparrow and use the keyboard shortcut:
Ctrl+F, or navigate to:File > Open Transaction > File....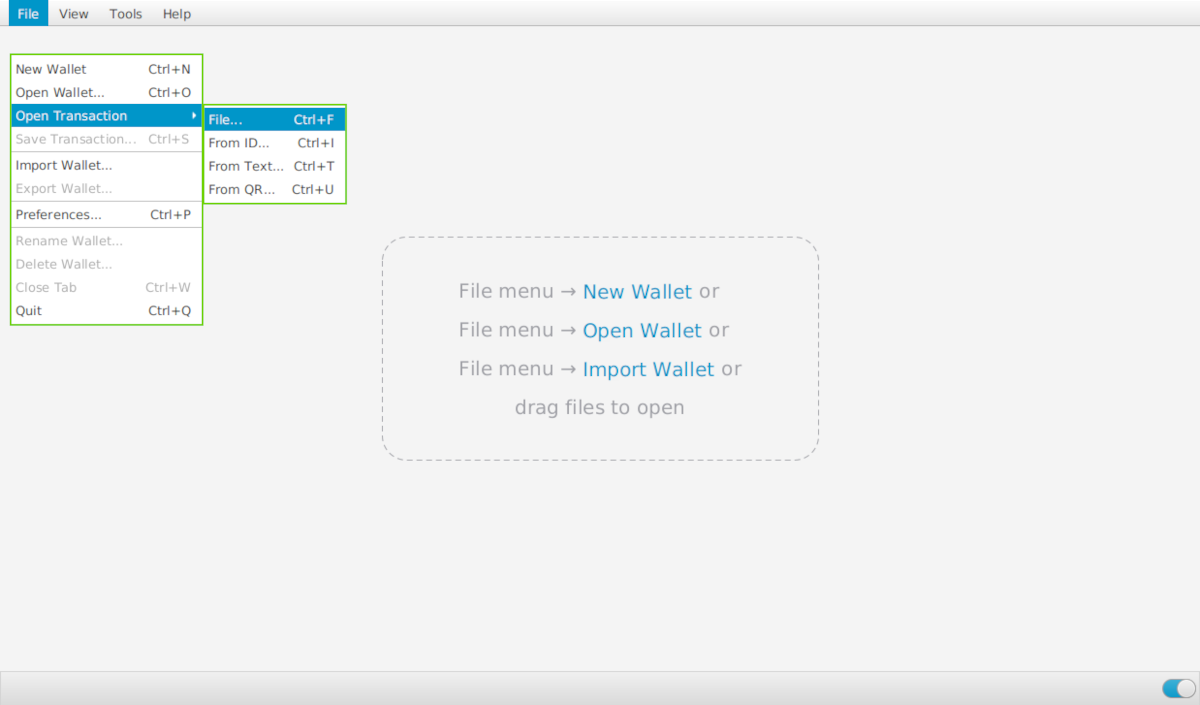
-
Select the finalized transactions to be broadcasted.

-
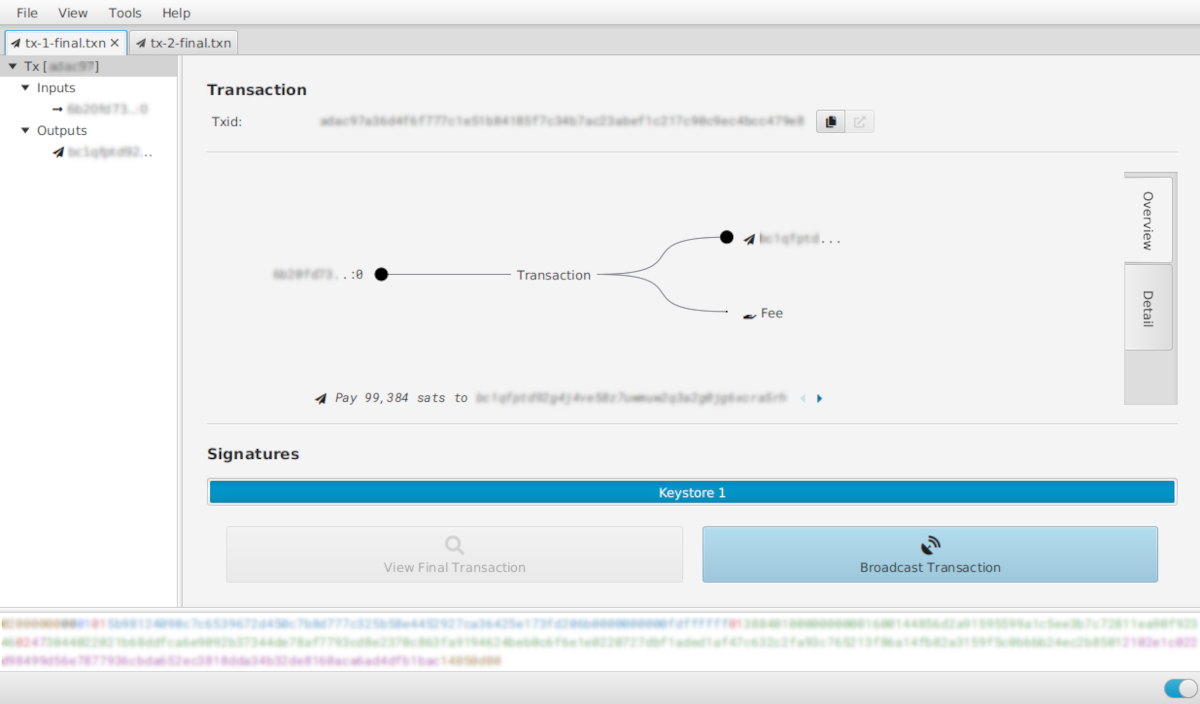
Each transaction will open as a separate tab in Sparrow.
-
On each transaction tab, click
Broadcast Transaction. Once you have done this for each of your transactions you are finished!