
 Shop
ShopThis guide walks through signing a Bitcoin transaction with Coldcard using a MicroSD card. Sparrow Wallet saves the unsigned transaction to the card, you move the card to Coldcard for review and signing, and then move it back to Sparrow to broadcast. The workflow is the same on Coldcard Q and Mk5, and works on any computer with a MicroSD slot or card reader.
MicroSD is one of three air-gapped signing channels Coldcard supports. If you'd rather use QR codes or your phone's NFC, see QR Code Air-Gapped Signing with Coldcard and NFC Tap Air-Gapped Signing with Coldcard.
What is MicroSD card air-gapped signing?
Signing with Coldcard starts with a PSBT (Partially Signed Bitcoin Transaction), built by your coordinator software, Sparrow in this guide. Sparrow constructs the unsigned PSBT and passes it to Coldcard, where your private keys are stored and where the transaction gets signed.
With MicroSD signing, that PSBT travels as a file written to a MicroSD card. The card is physically moved from your computer to your Coldcard and back, so both devices never share a live data connection. This removes an entire category of risk that comes with connecting your signing device directly to an internet-connected computer.
MicroSD is Coldcard's original signing channel and its most broadly compatible one. Any coordinator that can save and load PSBT files works with it, and any computer with a built-in card slot or a USB card reader works too. Unlike QR signing or NFC tap, MicroSD needs no webcam, camera, or wireless radio, just a card and a reader.
To sign using this method you will need a MicroSD card formatted as FAT32 or FAT12, 512 MB or larger, and a card reader for your computer if it doesn't have a built-in slot. For a comparison of MicroSD against QR and NFC as signing channels, see Bitcoin Air-Gap Signing Methods.
Before you begin
Before signing your first transaction with MicroSD, make sure you have the following ready:
-
Coldcard Q or Mk5, fully initialized. Complete Set Up Your Coldcard Q or Set Up Your Coldcard Mk5 first, with your PIN set and your seed phrase generated and backed up.
-
Sparrow Wallet set up as a watch-only wallet for this Coldcard. Complete Coldcard and Sparrow Wallet Setup first, including the address verification step. Sparrow is the coordinator that builds the transaction Coldcard will sign.
-
A MicroSD card and reader. The card must be FAT32 or FAT12 formatted, 512 MB or larger. You'll need a card reader, built-in or USB adapter, to move the file between your computer and Coldcard.
-
Coldcard Q or Mk5 powered on. Batteries loaded or USB-C connected.
How to sign with MicroSD
Each transaction makes a round trip on the card. Sparrow builds it and saves it to MicroSD, Coldcard reads, reviews, and signs it from the card, then writes the signed result back for Sparrow to load and broadcast.
To start, power-on and sign in to your Coldcard and open the Sparrow Wallet app on your computer, then follow the steps below.
-
In Sparrow, go to the Send tab and build your transaction. Enter the recipient "Pay to" address, the bitcoin amount to send, and the transaction fee rate, then click Create Transaction. Sparrow shows the transaction details for review.
-
Review and Finalize the Transaction. Review the transaction details, and if everything looks good click "Finalize Transaction for Signing." Sparrow locks in the transaction and prepares it for export to Coldcard.
-
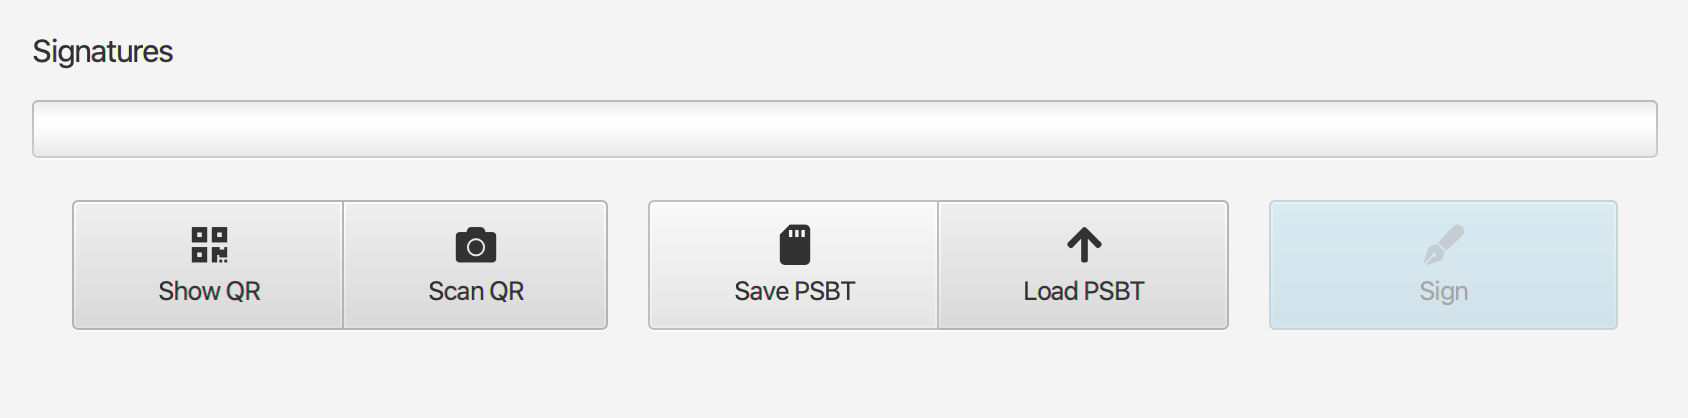
Click Save PSBT and save the file to the root of your MicroSD card. Sparrow writes the unsigned PSBT to the card. Eject the card from your computer.
-
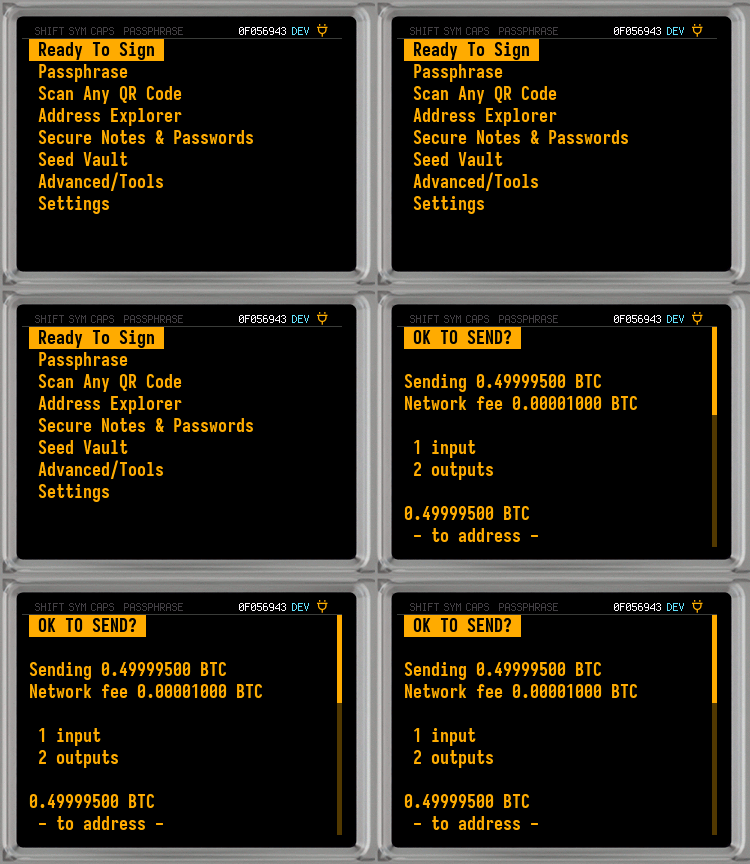
Insert the MicroSD card into Coldcard, then select Ready To Sign from the main menu. Coldcard detects the PSBT file on the card and loads it for review. If you have more than one PSBT on your SD card, you will be given a list of PSBTs to choose from along with the option Sign All.
-
Review the transaction details on Coldcard's screen. Check the recipient address, amount, and fee against what you entered in Sparrow. This is Coldcard's core protection: read the recipient address character by character, since this screen reflects what's actually in the transaction even if your computer has been compromised.
-
Press the ✔/ENTER to approve and sign. Coldcard signs the transaction and writes the signed PSBT, named
[original]-signed.psbt, back to the card. Coldcard (Mk4 v5.4.2 / Q v1.3.2Q and later) finalizes the transaction and writes a ready-to-broadcast.txnfile to the card alongside the signed PSBT.Current standard firmware checks that the staged PSBT still matches the bytes parsed for review immediately before signing. If Coldcard reports
Transaction modified, cancel, rebuild the PSBT from a coordinator you trust, and review it again. Oversized PSBTs are rejected instead of being partially staged. -
Eject the MicroSD card from Coldcard and insert it into your computer. The card loads with the signed file visible in its root.
-
In Sparrow, select Load PSBT and select the signed PSBT or
.txnfile. Sparrow loads the signed transaction, ready to broadcast. Mk5 owners can alternatively display the signed PSBT as a QR code for Sparrow to scan, covered in QR Code Air-Gapped Signing with Coldcard. -
Final review and Broadcast Transaction. Upon clicking Broadcast Transaction, sparrow sends the signed transaction to the Bitcoin network.
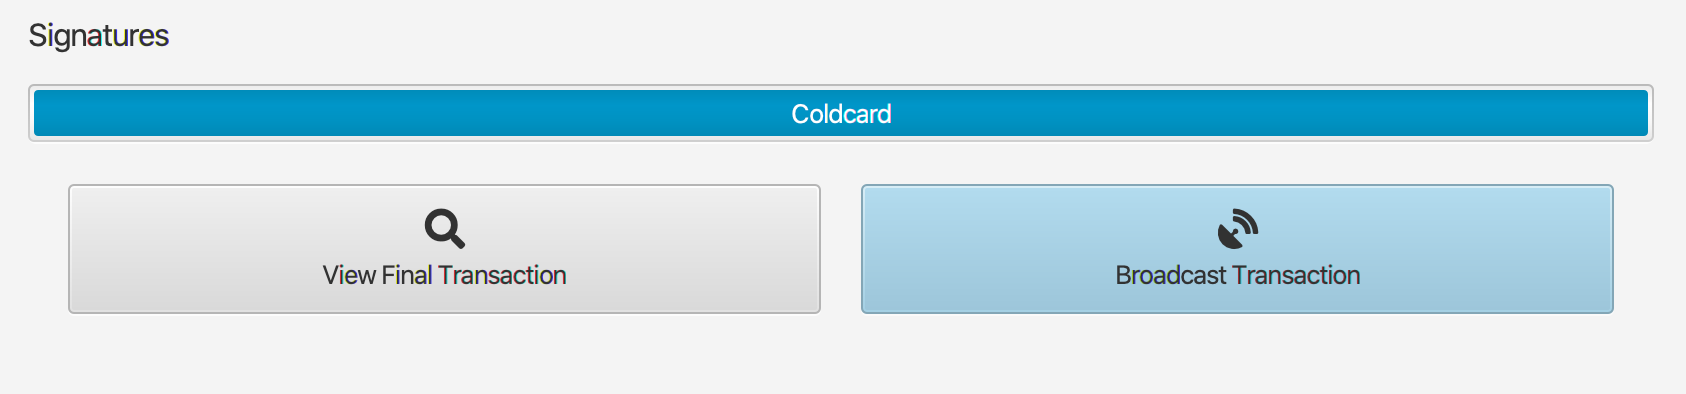
Your transaction is now broadcast and waiting in the mempool until a miner includes it in a block. If you run your own Bitcoin node, Sparrow can check the mempool and confirmation status directly against your node, with no data leaving your setup.
If you don't run your own node, Sparrow checks a public Electrum server instead, which can see which addresses and transactions belong to your wallet. For more on this trade-off, see What is Bitcoin Privacy? and Running a Bitcoin Node.
Signing with a multisig wallet
If your funds are held in a multisig vault, this same MicroSD procedure still applies, with a few differences. This section assumes you have already set up a vault following Build a 2-of-3 Multisig Vault with Coldcard, and that the funds being spent sit at an address belonging to that vault, requiring 2 of the 3 Coldcards to sign.
In the above procedure, steps 1 and 2 happen once, when the transaction is first built and finalized in Sparrow. After that, steps 3 through 8 repeat for each cosigner: the PSBT is saved to the card, carried to that cosigner's Coldcard for review and signing, and the partially signed result is loaded back into Sparrow before the next cosigner's turn.
Below is the procedure for multisig signing via MicroSD:
-
Build and finalize the transaction in Sparrow (steps 1 and 2). This happens once for the whole vault, not once per cosigner.
-
The first cosigner runs steps 3 through 8 on their Coldcard. The card carries the PSBT from Sparrow to Coldcard, Coldcard signs and writes the result back to the card, and Sparrow loads the partially signed PSBT with one signature applied.
-
In Sparrow, save the updated PSBT back to the MicroSD card. Sparrow now holds the partially signed PSBT. Use Ctrl+S or File > Save PSBT to write it to the card again, then eject the card and pass it to the second cosigner.
Key Teleport (firmware v1.3.2Q and later) offers an alternative to this round trip through Sparrow. The first cosigner can send the partially-signed PSBT directly to the second cosigner's Coldcard over encrypted BBQr codes, with a Teleport Password shared over a separate channel such as a phone call.
-
The second cosigner runs steps 4 through 7 on their own Coldcard. With the 2-of-3 threshold now met, Coldcard (Mk4 v5.4.2 / Q v1.3.2Q and later) finalizes the transaction and writes a ready-to-broadcast
.txnfile to the card alongside the signed PSBT. -
Continue with steps 8 and 9 above to broadcast. Load the
.txnfile in Sparrow and broadcast to the network.
Troubleshooting
| Symptom | Likely cause | Resolution |
|---|---|---|
| Coldcard doesn't detect the PSBT on the MicroSD card | File not in the card's root, or wrong file extension | Confirm the .psbt file is in the root, not a subfolder, and re-save from Sparrow |
| Sparrow doesn't recognize the signed file | Wrong file selected, or card not remounted after ejecting from Coldcard | Eject and reinsert the card into the computer, then select the [original]-signed.psbt or .txn file |
| "Wrong XFP" warning on Coldcard | PSBT was prepared for a different Coldcard or wallet | Confirm Sparrow is using the watch-only wallet imported from this specific Coldcard |
| "Troublesome change outs" warning | Change address derivation path doesn't match the expected pattern | Review the change address details on Coldcard. If correct, approve. If unfamiliar, press X/CANCEL and investigate in Sparrow |
What to do next
You've completed a full MicroSD signing round trip. Every future transaction from this Coldcard wallet follows the same pattern: save in Sparrow, sign on Coldcard via MicroSD, broadcast from Sparrow.
Next guide: NFC Tap Air-Gapped Signing with Coldcard, a mobile-first alternative channel if you'd rather sign by tapping your phone to Coldcard.
Further reading: Bitcoin Air-Gap Signing Methods compares QR, MicroSD, and NFC as signing channels.
On privacy: What is Bitcoin Privacy? covers what a watch-only wallet and public servers can see about your transactions.
Related guides
What is Air-Gapped Signing?
The conceptual article that explains what this guide demonstrates.
What is a PSBT?
Explains the partially-signed transaction format used throughout this workflow.
Bitcoin Air-Gap Signing Methods
A technical comparison of QR, MicroSD, and NFC as air-gapped signing channels.
Coldcard and Sparrow Wallet Setup
Connect your initialized Q to Sparrow Wallet as a watch-only wallet.